I tinker. I putz. I dabble. I guess I need to keep my mind and my hands busy, otherwise the dark clouds can form. Enough said. I used to shoot quite a bit with my great Polaroid 360 camera. A glass lens, manual focus, Zeiss viewfinder, accordion bellows beast. I was inspired by the work done by Patti Smith, and back in the day, Fuji peel-apart film was cheap (like 10 bucks a box cheap.) Well, take a stroll over to eBay and you know those days are long gone, and Fuji isn’t even making the film anymore. So with a bare film shelf in my fridge, I had to put my 360 to rest.
I did have the forethought to keep the negative backing from some of my peel apart photos. Most folks would throw that part away, keeping only the nicely colored, long-lasting positive image. However, they didn’t realize that there was a salvageable “negative” buried beneath the backing paper and black, chemical coating. You can “reclaim” these negatives with a simple process using cling bleach and warm water. I went down the rabbit hole this week (tinkering, putzing) and reclaimed a bunch of old negatives…some shot over 6 years ago. I figured I’d share the process, in case anyone with deep pockets is still buying and shooting the Fuji dead stock and wants to get more mileage out of the film.
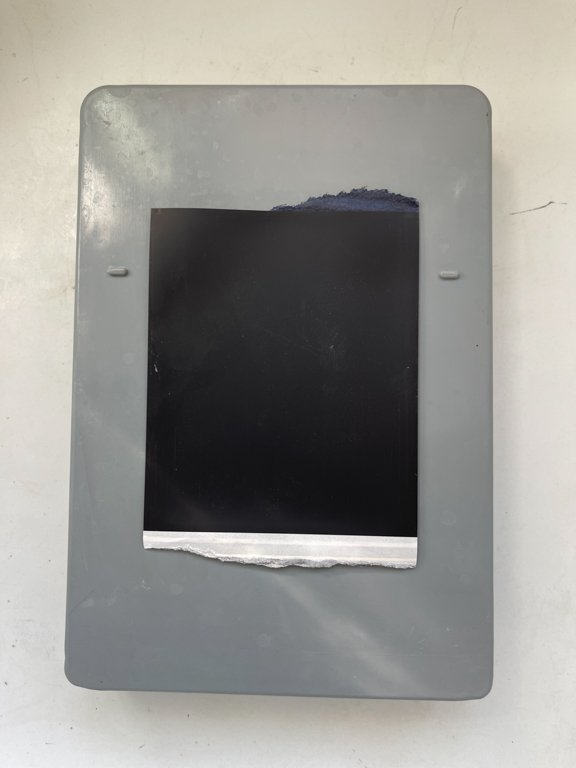
STEP ONE: Grab the left over backing paper from a recently (or not so recently) exposed sheet of Fuji peel-apart film. There are two sides, the one with the matte, black coating is the side you want to work with. Remove excess paper around the edges, if you so desire.
STEP TWO: In a sink, place sheet face down on a flat surface. I used a small developing tray.
STEP THREE: Using toilet cleaner bleach (the kind that is in gel form is really the best way to go, since it doesn’t run all over the place.)
STEP FOUR: let it sit for about 30 secs to a minute.
STEP FIVE: Rinse carefully with water. You’ll see chunks of black goo pulling off the negative. This is what you want to happen. Rinse until no more black chunks are visible, water runs clear.
STEP SIX: Flip the negative over and rinse under warm (to hot) water, gently rubbing the surface with your fingers. try not to scratch, but even if you do, it’ll probably look cool. This step takes off any binding goo, but please note: you do not want to use bleach on this side.
STEP SEVEN: hang to dry
You’ll see a discolored negative image of the original photo, which you can take a photo of (or scan) and then invert in Photoshop, or the app of your choice. Do some adjustments to your liking…and voila! You have a cool, one of a kind, image. Rescued from oblivion, or at least the garbage dump. The fun thing about this process is you end up getting odd color shifts, surface textures, and rough edges that an Instagram dweeb would pee themselves over. I personally really like the look of scratches and emulsion distress.
Give it a try if you have some of this film lying around. In the meantime, I will write an angry crank letter to Fuji Corp. to beg them to manufacture this film again. Maybe if all the analogue folks out there do the same, we can drag these wonderful old cameras out of storage and shoot one of a kind (or two of a kind?) photos once again.
The final image, inverted and tweaked in Photoshop! Check out the janky, amazing frame.


